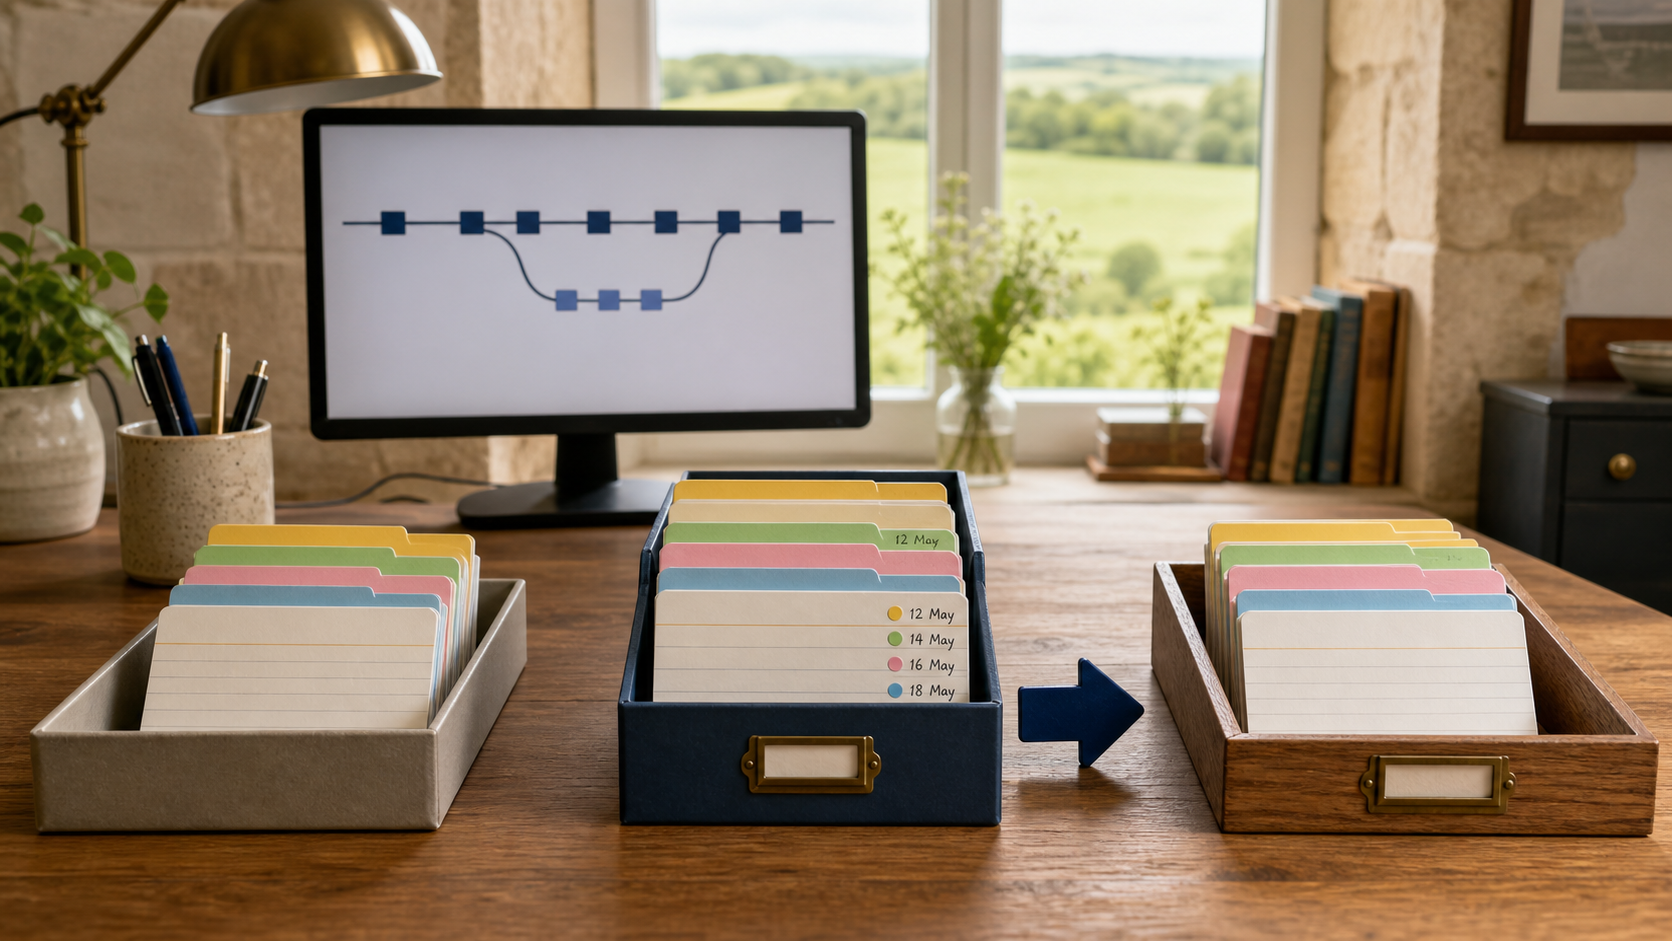
You do not need to become a Git expert to protect work created with Codex or Claude.
You need three simple habits:
- know which project you are in;
- review what changed;
- save a named recovery point before moving on.
Git is the system that keeps that history. GitHub can keep another private copy and provide a clear review screen. Your agent can handle the commands and explain the result.
Who this is for
This guide is for managers, founders and organisational leaders who create documents, analysis, websites or software with Codex or Claude.
You are responsible for the outcome, but you are not a technical specialist. You want a recoverable working habit without learning a terminal language first.
Before you start
You need:
- a GitHub account with two-factor authentication;
- GitHub Desktop or an approved agent that can use Git for you;
- a new private practice project;
- no company secrets or important files;
- and about 30 minutes.
Private means access is restricted. It does not mean mistakes are impossible.
What you will learn
By the end, you should be able to:
- explain Git and GitHub in ordinary language;
- ask your agent to check the exact project before changing it;
- review a plain-language summary of changes;
- save a named recovery point;
- keep a private copy on GitHub;
- ask for help when local and shared work do not match;
- restore an older file without erasing the story.
The four words you need
| Word | Plain-English meaning |
|---|---|
| Project | The folder containing this piece of work |
| Change | The exact difference since the last saved point |
| Commit | A named recovery point saved on your computer |
| GitHub | A separate online home for the project's history and review |
You may hear repository, branch and diff. They mean the tracked project, a separate line of work and the exact changes. Your agent can manage these and explain them when they matter.
The safe loop
Choose one small outcome. Then Agent checks the exact project. Then Agent makes the approved change. Then You review the explanation and visible result. Then Agent saves a named recovery point. Then You verify the private GitHub copy
The editable source for this diagram is Mermaid plain text. See why that works for people and agents.
Step 1: Create a harmless private practice project
On GitHub, create a private project called safe-practice. Add a README, which is simply the project's front page.
Check:
- the correct account owns it;
- it is marked Private;
- nobody unexpected has access;
- two-factor authentication is on.
Do not learn on the only copy of important work.
Step 2: Ask the agent to open it safely
Use GitHub Desktop to copy the project to your computer, or ask Codex to guide you through opening it.
Then paste:
The tool is doing the technical check. You are checking that its explanation matches your intention.
Step 3: Make one tiny change
Ask:
Before it edits, ask for a one-sentence plan.
Afterwards, ask:
The answer should name one file and one sentence.
Step 4: Save a named recovery point
Say:
The technical name for that recovery point is a commit.
Then ask:
Step 5: Put the recovery point on private GitHub
Say:
Open GitHub in your browser. Check that the sentence and recovery-point name are visible in the private project.
That browser check is important. A confident message is not the same as seeing the right result in the right place.
Step 6: Check before every new session
At the start of later work, ask:
If the tool says the histories disagree, stop. Ask for a simple explanation of the choices. Do not approve words such as force, reset or delete merely to make the warning disappear.
Step 7: Restore an older file safely
To practise recovery, make a second harmless change and save it.
Then ask:
If it is the version you want, say:
This creates a new recovery point. It does not pretend the later work never happened.
What your agent checks for you (optional)
Behind the scenes, the agent checks:
- the project root;
- unfinished file changes;
- the active line of work;
- the private GitHub destination;
- and the exact difference before and after saving.
These checks are often called status, branch, remote and diff. You do not need to type the commands. You do need a clear explanation before you approve a save or upload.
Hands-on exercise: one change and one recovery point
- Create the private
safe-practiceproject. - Ask the agent to confirm the account, project and unfinished work.
- Add the one approved sentence.
- Ask for an exact plain-language change summary.
- Save the named local recovery point.
- Send it to the private GitHub project.
- Verify it in your browser.
- Ask the agent to show the earlier version without changing anything.
The exercise is complete when you can see the approved sentence on private GitHub and the agent can show the earlier version.
Verification checklist
- [ ] Two-factor authentication is enabled.
- [ ] The practice project is private.
- [ ] The agent confirmed the correct account and project.
- [ ] There was no unexplained unfinished work.
- [ ] Only the approved sentence changed.
- [ ] The recovery point has a clear name.
- [ ] The private GitHub page shows the same change.
- [ ] No password, token, customer data or private document was included.
- [ ] The agent can show an earlier version without deleting history.
Common mistakes and safe recovery
| Mistake | Why it matters | Safe recovery |
|---|---|---|
| Working in the wrong project | Correct work changes the wrong place | Stop and ask the agent to preserve and identify the work before moving it |
| Saving every changed file | Unrelated or private material joins the recovery point | Ask the agent to list each file and include only the named one |
| Uploading to the wrong account | Company or personal work crosses ownership | Stop, restrict access and tell the information owner |
| Combining unexplained histories | Someone's work may be overwritten | Preserve both versions and ask for a plain-language comparison |
| Saving a password | Project history may retain it | Revoke it immediately and follow GitHub's removal guidance |
Do not solve uncertainty by deleting files or forcing an upload.
Ready-to-copy prompt
Do this now
- Create a harmless private GitHub project.
- Open it with Codex or GitHub Desktop.
- Paste the ready-to-copy prompt.
- Make one sentence change.
- Save and verify one named recovery point.
Your next step
Repeat the safe loop until checking the project, reviewing the change and saving a recovery point feel routine.
Then continue with: